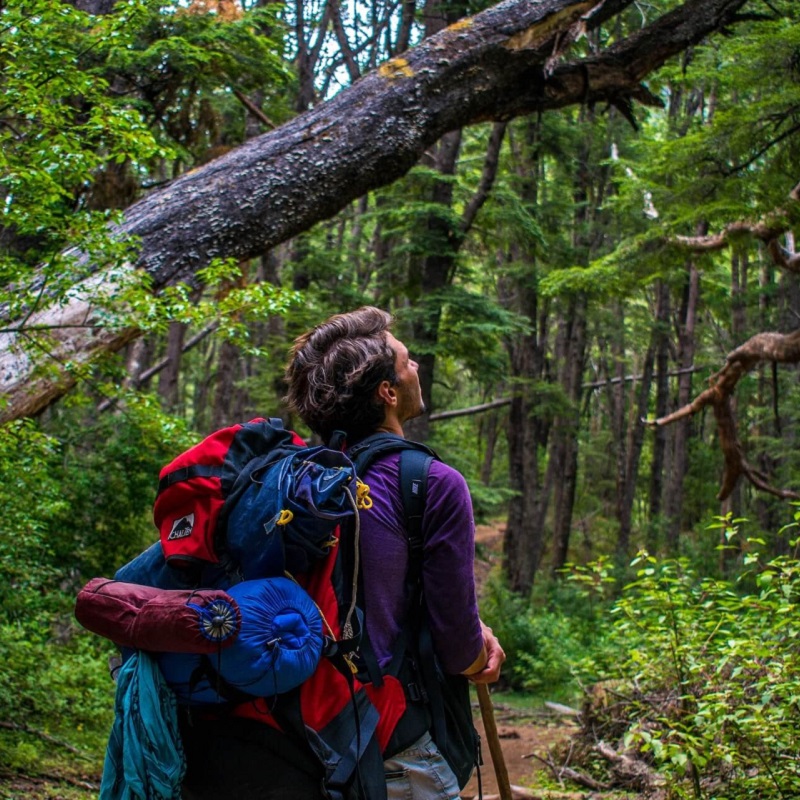
For outdoor photography enthusiasts, a hiking camera backpack is an essential accessory. Whether you’re trekking through the mountains or exploring local trails, having the right backpack can significantly enhance your experience. These backpacks are specifically designed to carry not only your camera gear but also provide the necessary comfort and support during longer hikes.
When searching for a hiking camera backpack, the variety of options available on the market can be overwhelming. Each backpack comes with unique features tailored to different needs, making it challenging to choose the best one for you. In this article, we will highlight the top five hiking camera backpacks available, focusing on their features, benefits, and what sets them apart for outdoor photographers.
If you’re ready to elevate your outdoor photography game, let’s explore these top picks!
Key Features to Look for in a Hiking Camera Backpack
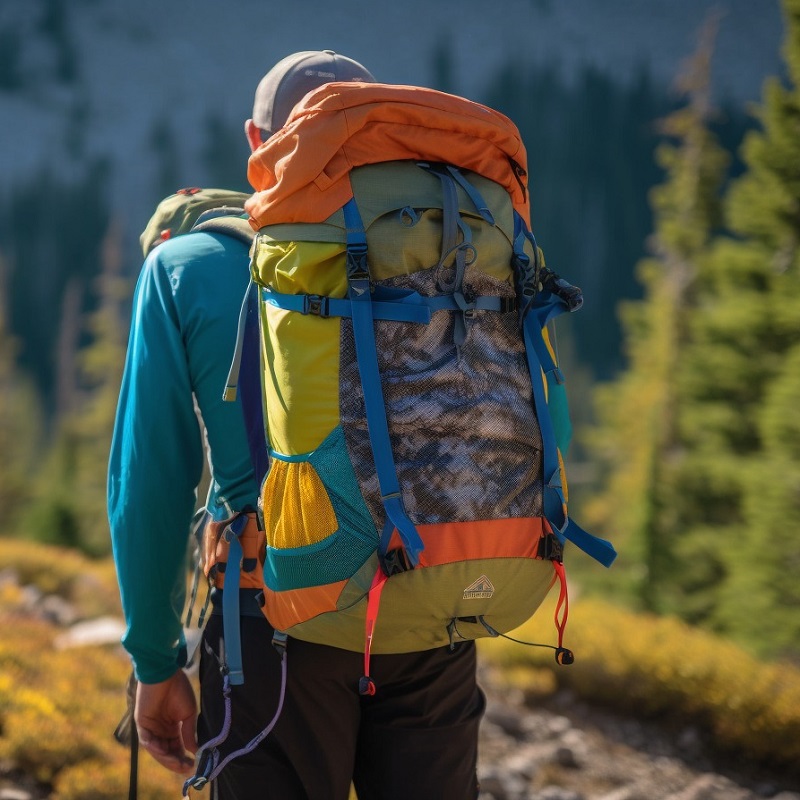
Comfort and Fit
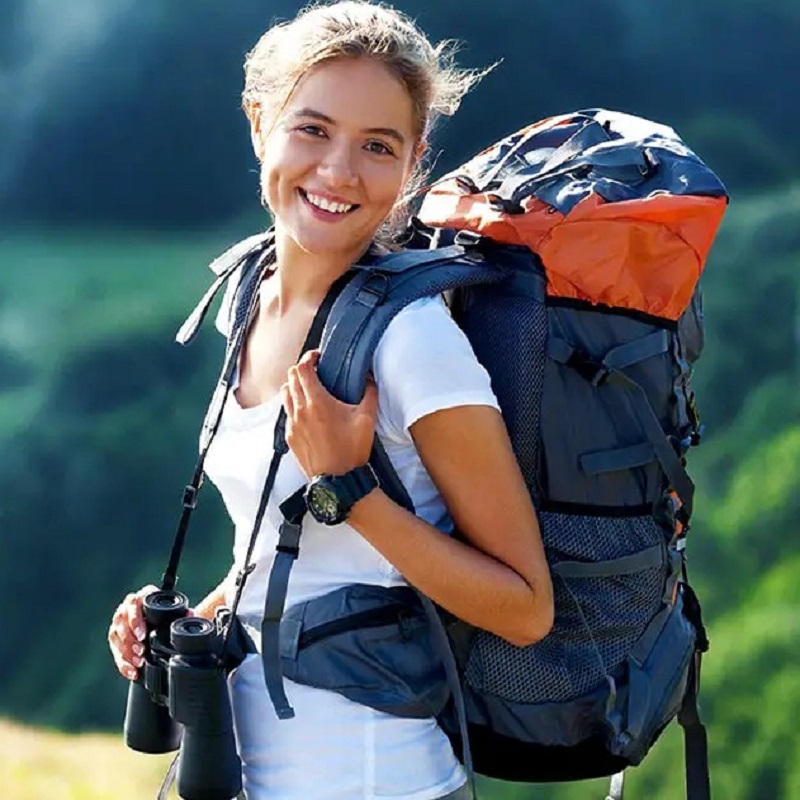
One of the most critical factors to consider when selecting a hiking camera backpack is comfort. Since you may carry this pack for hours, ensuring it fits well will enhance your hiking experience.
- Padded Straps: Look for backpacks with wide, padded shoulder straps to help distribute weight evenly across your shoulders. This feature significantly reduces fatigue and discomfort during long hikes.
- Adjustability: An adjustable torso length allows for a customized fit for different body types. Many models offer several adjustment points at the waist, chest, and shoulders.
- Ventilation: A breathable back panel can help prevent overheating during strenuous hikes. A mesh design improves airflow, keeping your back cool and dry on warm days.
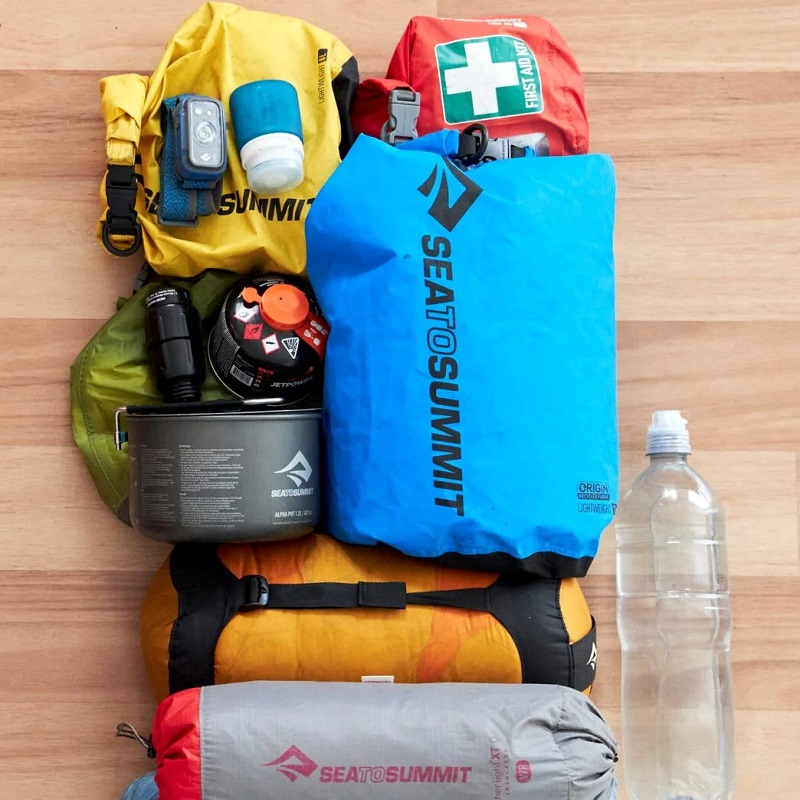
Storage and Organization
A well-designed hiking camera backpack must offer ample storage space and organizational features tailored to your camera gear.
- Dedicated Camera Compartments: Look for backpacks with padded, customizable compartments. These sections keep your gear secure and easily accessible while you’re out on the trail.
- Additional Pockets: Side pockets are perfect for holding water bottles, snacks, or other essentials. A top pocket is also useful for items you need to access frequently, such as filters, batteries, and lens caps.
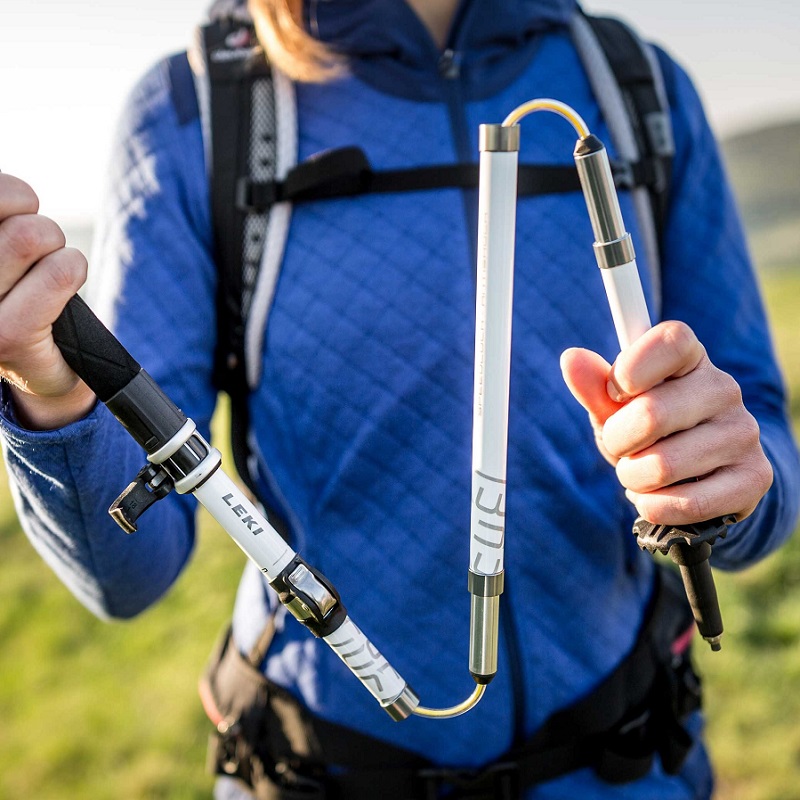
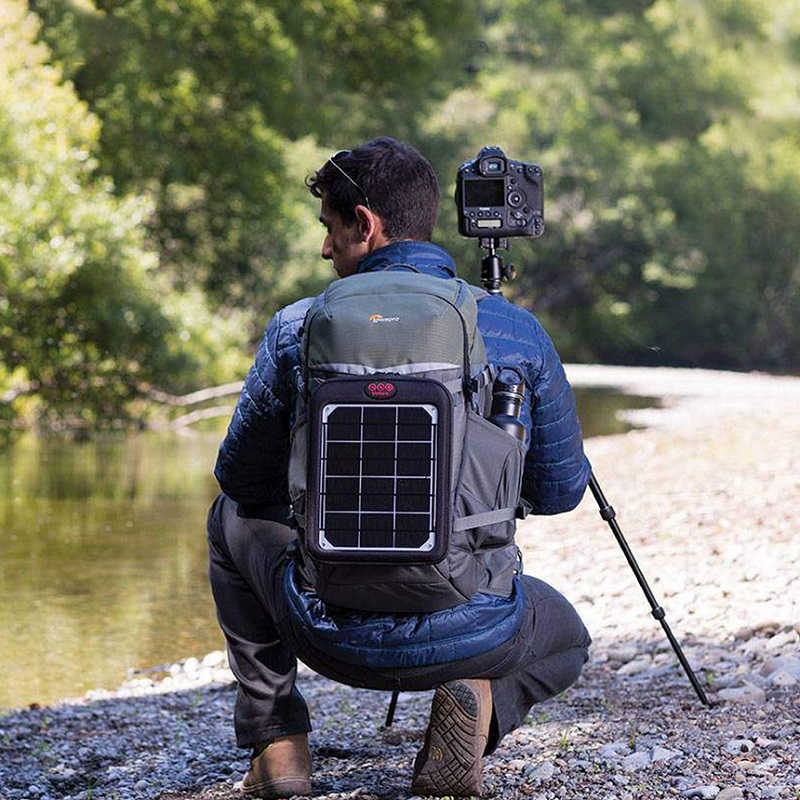
- Tripod Attachment: If you often use a tripod, ensure the backpack has proper attachment points or straps to secure it externally. This feature allows easy access while hiking and prevents the tripod from getting in your way.
Durability and Weather Resistance
Since hiking can expose you to a variety of environmental conditions, durability is essential.
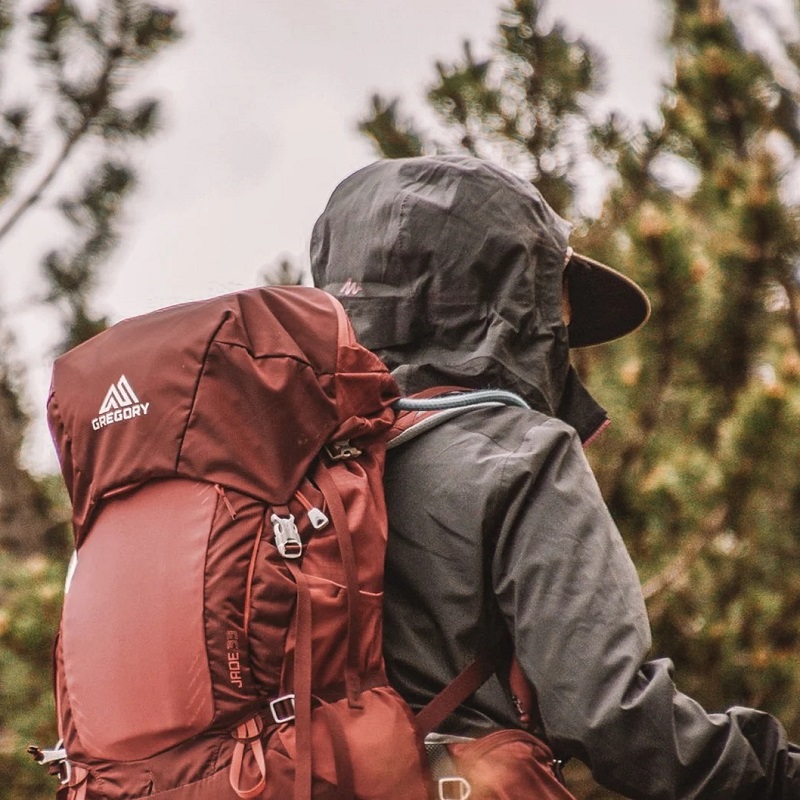
- Material Quality: Choose backpacks made from high-quality nylon or polyester with water-resistant coatings. These fabrics help protect your gear from rain and moisture during unpredictable weather.
- Rain Covers: Some hiking camera backpacks come with built-in rain covers. This feature can protect your equipment even when caught in sudden downpours.
- Heavy-Duty Zippers: Ensure the bag is equipped with sturdy, reliable zippers. Weak zippers can lead to frustration or the loss of valuable gear if they fail during a hike.
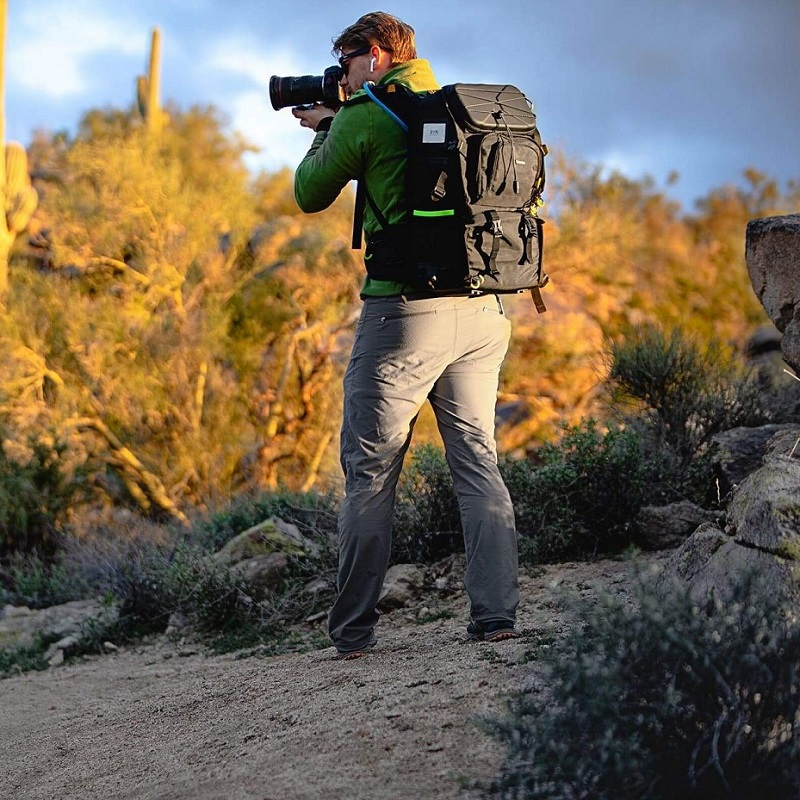
Lowepro ProTactic 450 AW II
The Lowepro ProTactic 450 AW II is an excellent option for serious photographers seeking functionality without compromising comfort.
- Smart Organization: This backpack features customizable, padded dividers for maximum gear organization. It can accommodate a DSLR with 3-4 lenses, drones, and various accessories.
- Durable Build: Its rugged, water-resistant material ensures protection in various weather conditions. The built-in rain cover is a reliable feature that comes in handy during sudden downpours.
- Comfortable Wear: With padded shoulder straps and an adjustable harness system, this backpack is designed for comfort during long hikes. A ventilated back panel enhances airflow, providing additional comfort.
- Accessory Attachment: The bag includes SlipLock attachment points, allowing you to easily add accessories like pouches or other gear for increased versatility.
Peak Design Everyday Backpack V2
The Peak Design Everyday Backpack V2 is a stylish yet functional choice, perfect for both photography and daily use.
- Versatile Design: This adaptable backpack can smoothly transition from a dedicated camera bag to an everyday backpack. This flexibility makes it a multi-functional choice for photographers and travelers alike.
- Quick Access: Side access points allow for rapid retrieval of your camera gear. You can take photos instantly without having to dig through a top-loading bag, which is crucial when timing is essential.
- Weatherproof: Constructed from durable materials, this backpack features weatherproof zippers to keep your gear protected. It’s ideal for hikes in unpredictable conditions.
- Expansion Options: The design allows for expansion with external mounting systems for additional gear, such as a tripod, jacket, or any other equipment.
F-Stop Tilopa
Designed for outdoor enthusiasts who venture into extreme conditions, the F-Stop Tilopa is a fantastic choice for dedicated photographers.
- High-Capacity Storage: This backpack has ample storage capacity, easily accommodating larger camera setups, including multiple lenses and a full-frame camera.
- ICU System: The removable Internal Camera Unit (ICU) is highly customizable and offers excellent protection for your gear. This feature allows you to swap it between different bags or use it independently.
- Comfortable and Breathable: The padded harness and adjustable sternum strap ensure comfort on long hikes. Its ventilated back panel helps reduce perspiration, keeping you cool during hot days.
- Versatile Use: Beyond photography, the F-Stop Tilopa serves as an effective daypack for hiking. With several organizational pockets and attachment points, it is a worthwhile investment for outdoor activities.
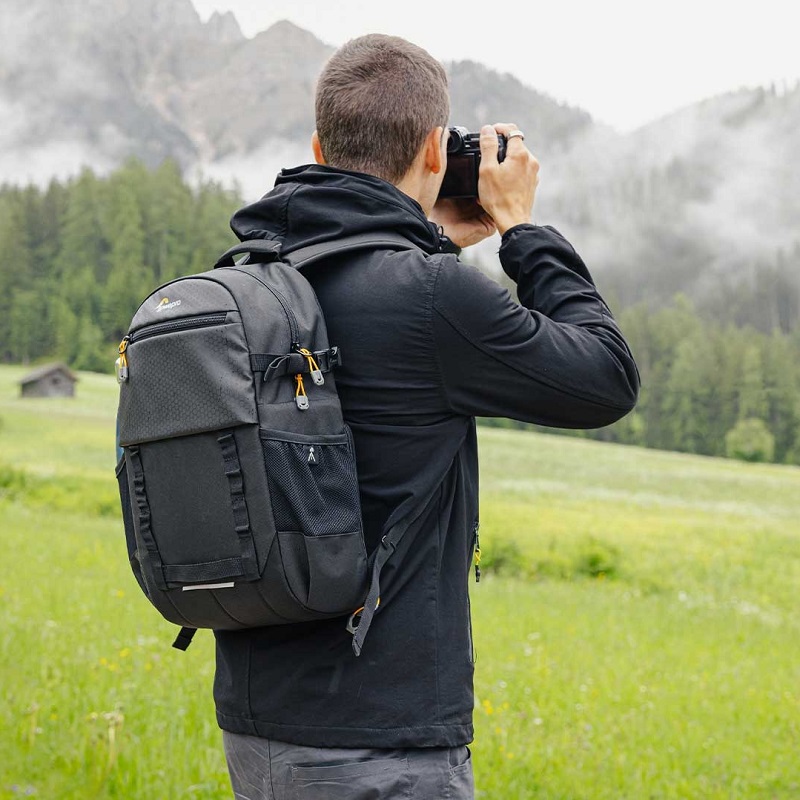
Osprey Flapjack Laptop Backpack
While not exclusively a camera backpack, the Osprey Flapjack Laptop Backpack offers great versatility for those traveling frequently with photography gear.
- Flexible Storage: This backpack comes with a padded laptop compartment and can comfortably accommodate a mirrorless camera along with additional lenses, making it suitable for both tech and gear.
- Organized Design: It features multiple pockets and compartments to ensure easy organization of gear and personal items. The designated pocket for a hydration reservoir adds usability during day hikes.
- Comfort and Support: The padded shoulder straps and adjustable chest harness provide excellent comfort during extended wear. The lightweight design helps minimize strain, even when fully loaded.
- Multi-Purpose Use: Its stylish design allows for casual use, making it easy to transition from hiking to daily activities without changing bags.
Think Tank Photo StreetWalker Hard Drive Backpack
The Think Tank Photo StreetWalker Hard Drive backpack is another excellent option for outdoor photographers looking for durability and functionality.
- Ample Storage: This backpack is designed to fit up to a 15-inch laptop, multiple lenses, and other accessories, making it perfect for longer excursions.
- Customizable Dividers: The customizable interior dividers ensure all of your gear is organized and easily accessible. This feature simplifies packing and unpacking your belongings.
- Comfortable Fit: Its padded shoulder straps and adjustable waist belt provide added support and comfort. You can wear it for hours without discomfort.
- Weather Resistance: With its water-resistant base and durable materials, this backpack stands up to harsher conditions, ensuring that your gear remains dry and protected.
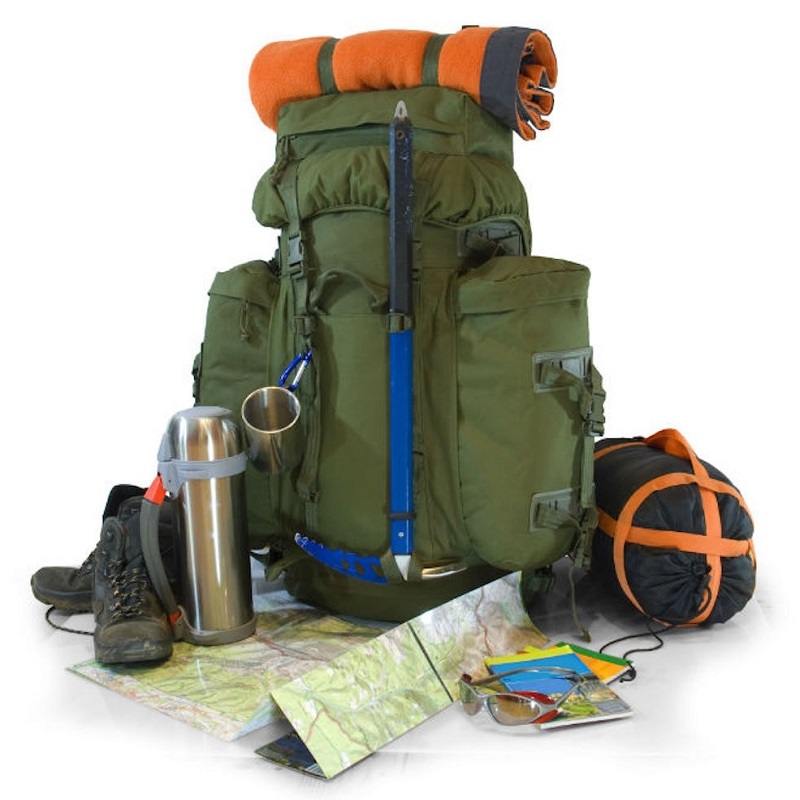
Additional Considerations for Your Hiking Camera Backpack
Assess Your Photography Needs
When considering a hiking camera backpack, start by assessing your personal photography requirements. This evaluation helps ensure that your chosen backpack will effectively meet your needs.
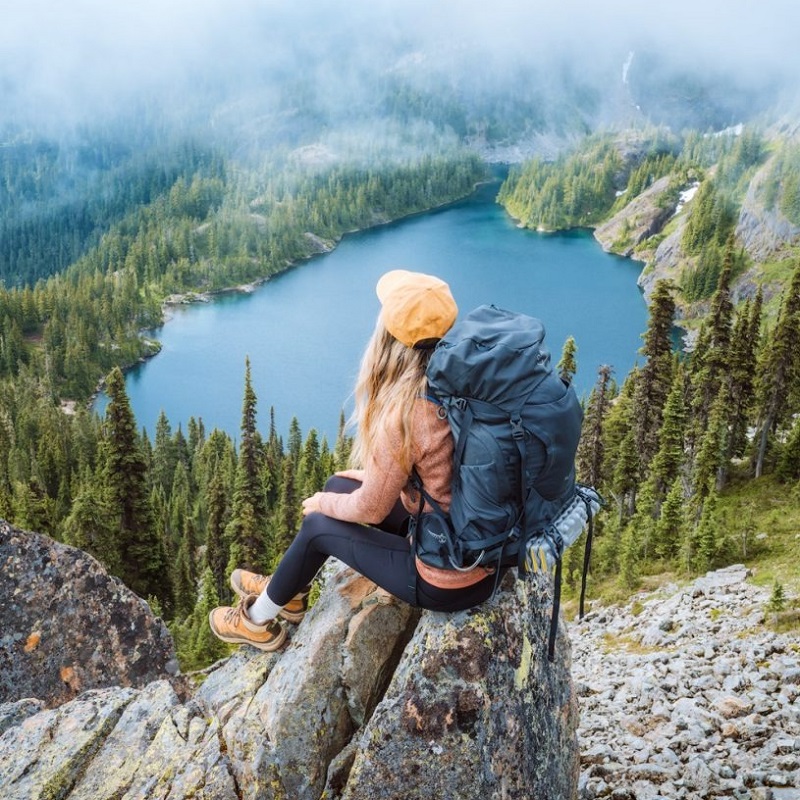
- Gear Requirements: Identify the amount and type of camera gear you realistically need to carry. Plan for hikes when you expect to use more lenses or additional equipment.
- Hiking Duration: If you plan to hike for multiple days, select a backpack that can accommodate more gear, including food and water. Look for backpacks with sufficient storage capabilities suitable for extended outings.
Test and Compare
Once you have shortlisted a few potential backpacks, take the time to test them and compare their features.
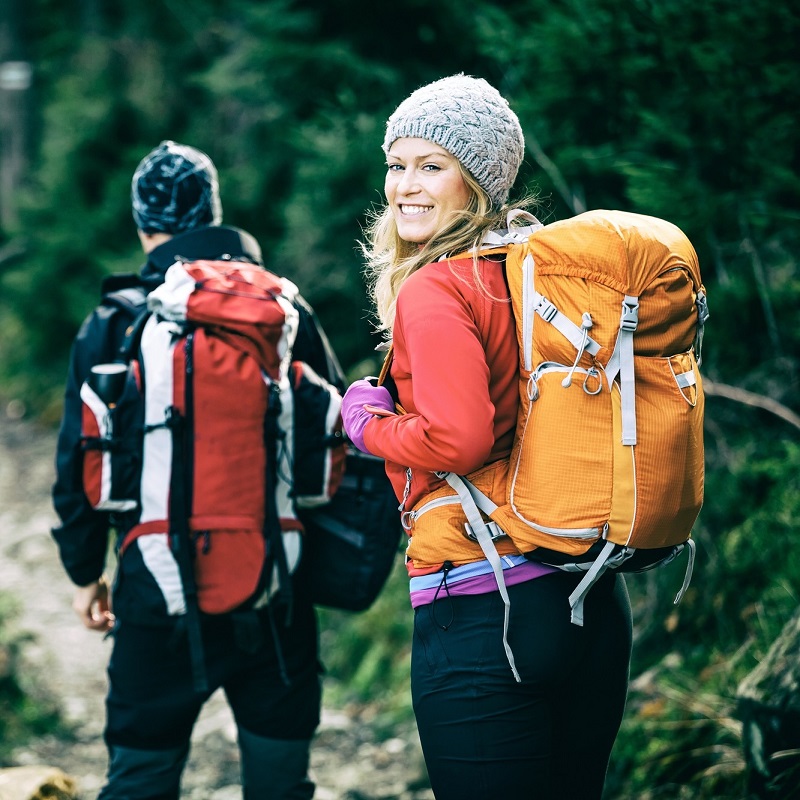
- In-Store Tryouts: If possible, visit a store to try on various models. Assess how each backpack feels with weight inside, as this can significantly affect comfort.
- Read Reviews: Look for reviews and testimonials about any bags you’re considering. User experiences can reveal both strengths and weaknesses you might not have considered.
- Watch for Sales: Timing your purchase for sales events, especially during back-to-school or holiday seasons, can yield substantial savings on high-quality gear.
Choose Your Perfect Hiking Camera Backpack
In summary, selecting the right hiking camera backpack is vital for outdoor photography enthusiasts. Comfort, organization, durability, and functionality will all significantly influence your hiking experience. Each of the five backpacks highlighted in this article offers unique qualities tailored to different preferences and needs.
By investing in a high-quality hiking camera backpack, you ensure the safe organization of your gear during your outdoor adventures. Whether you’re an avid hiker, a travel lover, or just starting out, having the right backpack will greatly enhance your experiences in the great outdoors.
Take your time when exploring various options, testing them out, and determining which feels best for your personal style and requirements. With the right gear in tow, you’ll be ready to capture the beauty of nature and create lasting memories through photography. Happy hiking and photographing!