Introduction
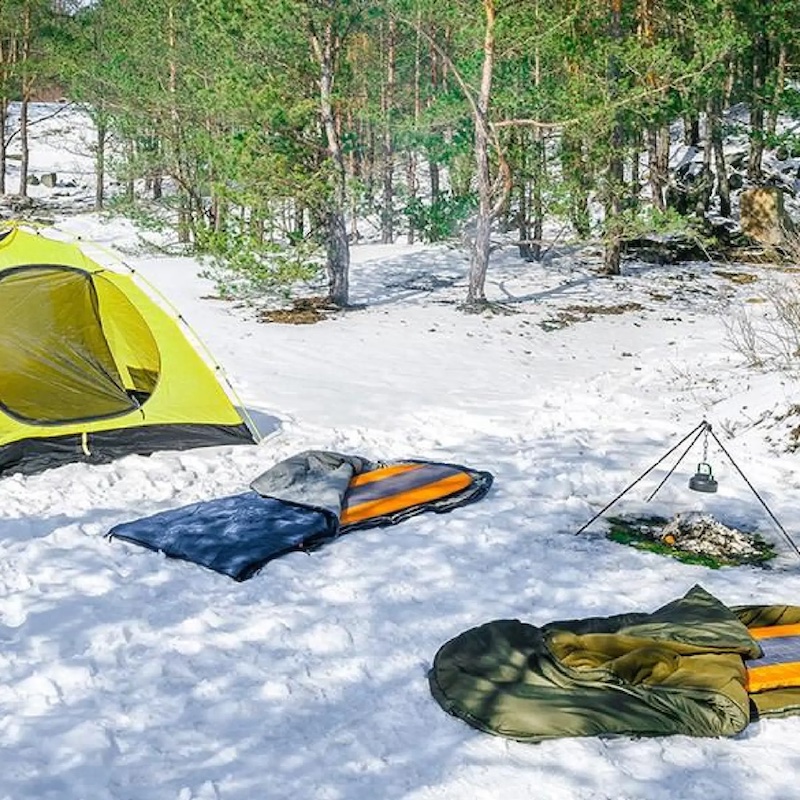
When it comes to camping, having the right gear can make a significant difference in your experience. One of the critical pieces of equipment you should invest in is a reliable sleeping bag, especially when camping in colder weather. A quality 0 degree sleeping bag is essential for keeping you warm and comfortable during chilly nights, allowing you to rest and recharge for the next day’s adventures.
Cold-weather camping presents unique challenges, and a sleeping bag rated for 0 degrees Fahrenheit (-18 degrees Celsius) is specifically designed to help you withstand the cold. In this article, we will explore the top brands that offer 0 degree sleeping bags, comparing their features and benefits to help you make an informed decision. This way, you can enjoy your camping trips without worrying about freezing temperatures.
What is a 0 Degree Sleeping Bag?
Definition and Purpose
A 0 degree sleeping bag is designed to provide comfort and warmth in temperatures as low as 0 degrees Fahrenheit. Based on the materials used and the design, these sleeping bags help to insulate your body heat and protect you from the cold.
Thermal Efficiency: The primary function of a 0 degree sleeping bag is to trap heat and create a microclimate around your body. Insulation helps retain warmth while allowing moisture to evaporate, ensuring you remain comfortable throughout the night.
Safety Considerations: Camping in extremely cold temperatures without proper protection can be dangerous. A suitable sleeping bag not only helps you stay warm but can also prevent hypothermia and other cold-related illnesses.
Features to Look For
When selecting a 0 degree sleeping bag, it’s crucial to evaluate features that will enhance your comfort and safety.
Insulation Type: Sleeping bags can use down or synthetic insulation. Down insulation is lightweight and has excellent warmth-to-weight ratio, while synthetic insulation performs better in wet conditions, retaining warmth even when damp.
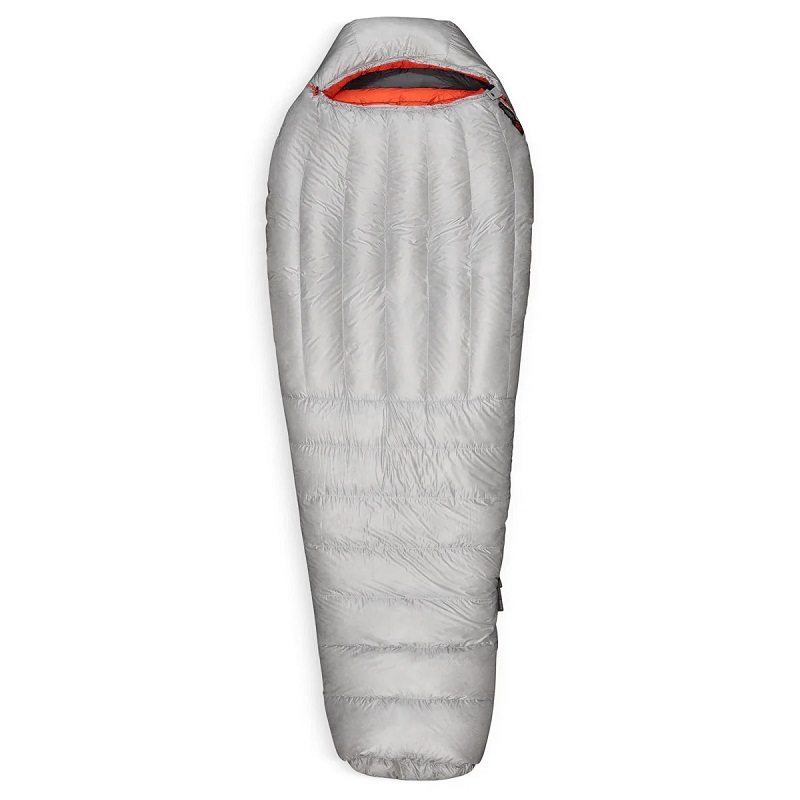
Shape and Design: 0 degree sleeping bags come in various shapes, with the most popular being mummy and rectangular. Mummy bags are more efficient for retaining heat, but a rectangular bag may offer more space for those who prefer a roomier feel.
Additional Features: Draft collars, hoods, adjustable cinches, and anti-snag zippers can improve warmth and comfort. Furthermore, features like water-resistant shells can protect you from the elements.
Understanding these key aspects can help you choose the right 0 degree sleeping bag that best fits your specific needs.
Top Brands of 0 Degree Sleeping Bags
The North Face
The North Face is widely recognized for producing high-quality outdoor gear, and their range of sleeping bags is no exception. They offer several models specifically rated for colder conditions.
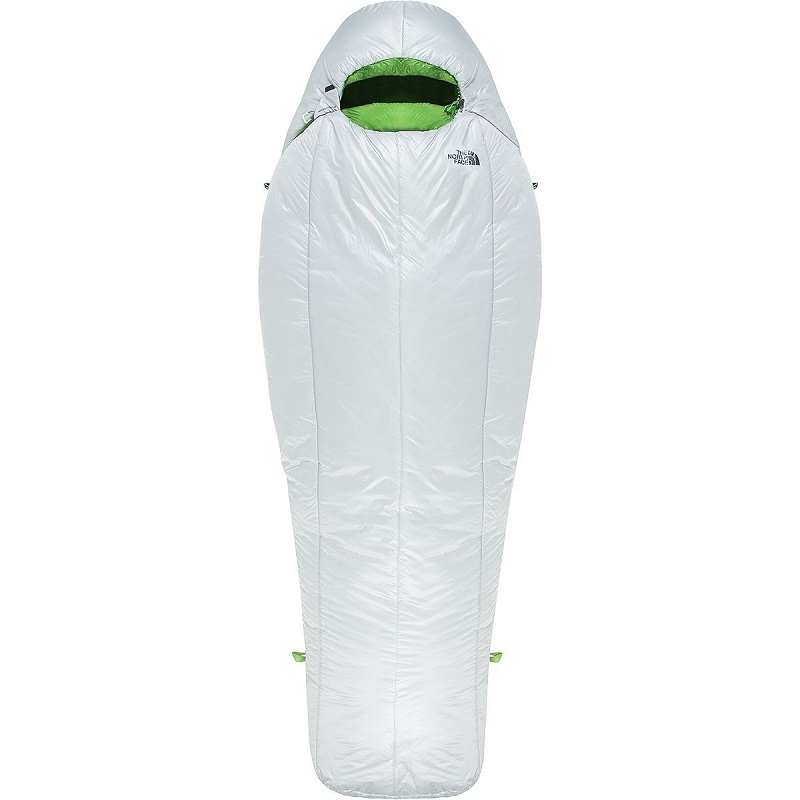
Popular Model: The The North Face Inferno is a standout option for serious winter campers. This mummy-style sleeping bag features 800-fill down insulation, providing an exceptional warmth-to-weight ratio that ensures warmth without burdening you with excess weight.
Notable Features: In addition to its insulation properties, the Inferno includes a waterproof, breathable shell that protects the down from moisture. The adjustable hood and draft collar help seal in warmth during frigid nights, making it an excellent choice for cold weather.
Marmot
Marmot is another trusted name in the camping industry, known for producing innovative and durable equipment for outdoor enthusiasts.
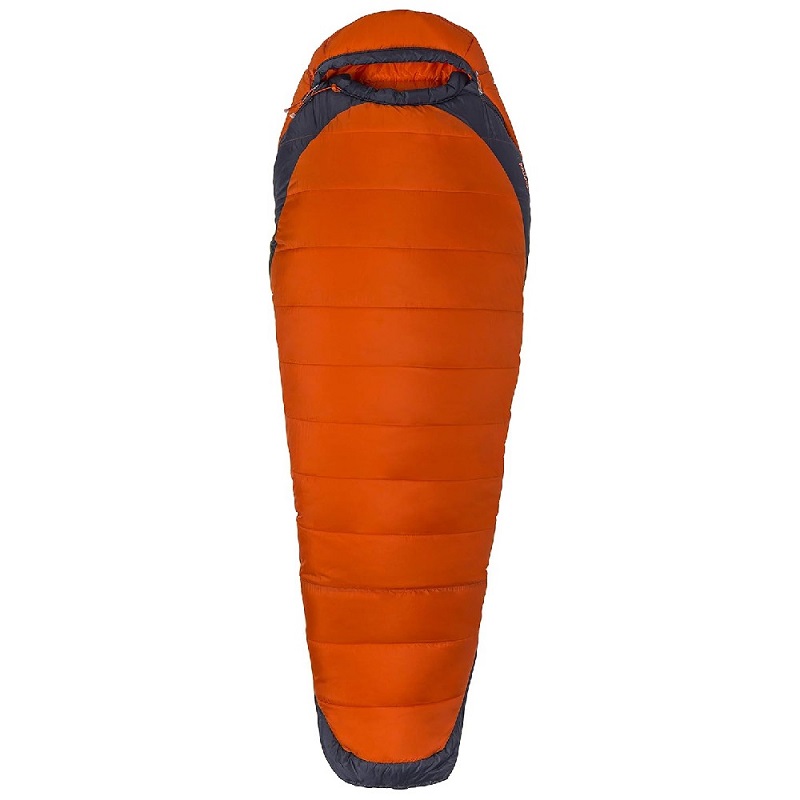
Popular Model: The Marmot Lithium sleeping bag is highly regarded for its balance of weight, warmth, and packability. Boasting 850-fill down insulation, it provides outstanding thermal efficiency while remaining lightweight for packed travel.
Key Features: The Lithium also includes a full-length draft tube and a unique footbox that is anatomically designed for enhanced comfort. Moreover, it features a water-repellent treatment on the down, maintaining warmth and performance in damp conditions.
REI Co-op
REI Co-op is famous for providing quality gear at affordable prices, and their sleeping bags cater to the needs of a variety of campers.
Popular Model: The REI Co-op Magma 15 sleeping bag offers a 0 degree option that is a favorite among campers seeking versatility. With 650-fill down and a compact design, it maintains warmth in cold temperatures.
Features to Note: This bag incorporates a durable water-repellent finish, ensuring the insulation remains functional even in light moisture. Additionally, the footbox is designed to maximize warmth and comfort for all-night sleep.
Big Agnes
Big Agnes specializes in camping gear that balances comfort and functionality. Their sleeping bags are designed for outdoor enthusiasts looking to tackle chilly conditions.
Popular Model: The Big Agnes McAlpin is a well-reviewed 0 degree sleeping bag. Designed specifically for backcountry camping, it features 650-fill down insulation, ensuring that it provides warmth without the bulk.
Distinctive Features: The McAlpin has a unique design that integrates a sleeve for a sleeping pad, preventing you from rolling off during the night. Additionally, it includes a wide footbox for additional comfort.
Nemo Equipment
Nemo Equipment is known for innovative designs and high-quality materials, making their sleeping bags popular among adventurers.
Popular Model: The Nemo Disco is a versatile 0 degree bag that combines the benefits of a traditional mummy bag with additional roominess at the shoulders and knees.
Notable Features: This sleeping bag includes a spoon shape design that allows for varied sleeping positions, as well as Thermo Gills that adjust insulation and temperature. The Disco also comes with water-resistant insulation, further enhancing its performance in wet conditions.
Comparing Different Features
Insulation Types: Pros and Cons
When comparing 0 degree sleeping bags, it’s essential to weigh the pros and cons of different insulation types.
Down Insulation: Down sleeping bags are renowned for their warmth and lightweight characteristic, making them easy to transport. However, they can lose their insulating properties when wet, and proper storage is essential to maintain loft.
Synthetic Insulation: While synthetic sleeping bags may have a bulkier profile, they excel in different situations. They are generally more affordable and perform better in damp conditions, making them a solid choice for frequent campers.
Weight vs. Performance
Another significant aspect of 0 degree sleeping bags is the balance between weight and performance.
Packability: If you plan to backpack or carry your sleeping bag over long distances, weigh the bag’s weight against its warmth and performance. Lightweight down bags often compress down well, taking up less space in your pack.
Comfort: Always consider how comfortable you feel in the sleeping bag. Mummy bags may be lighter but can restrict movement. Contrarily, rectangular bags offer more room while sacrificing some heat efficiency.
Features Comparison
It’s also beneficial to evaluate the individual features of each model to see which aligns best with your requirements.
Draft Collars and Hoods: Consider bags with high-quality draft collars that provide an additional barrier against cold air. Hood designs that are snug can help retain heat, especially when temperatures drop.
Zippers: Examine the quality and functionality of the zippers. Sleepers often experience cold drafts from poorly designed zippers. Strong, durable zippers that are easy to use can greatly enhance your overall experience.
Essential Tips for Using
Preparing for Cold Weather
Here are some practical tips for maximizing the effectiveness of your 0 degree sleeping bag:
Use a Sleeping Pad: When camping in cold conditions, a sleeping pad is essential for insulation from the ground. A high-R-value pad prevents heat loss and provides cushioning for a more comfortable night’s sleep.
Layering: Dress appropriately for sleeping. Wear moisture-wicking base layers to regulate your body temperature effectively. Avoid overheating by not wearing too many layers inside your sleeping bag, as this can lead to discomfort.
Maintenance and Care
To ensure your 0 degree sleeping bag remains in excellent condition, regular maintenance is essential.
Cleaning and Storage: Always follow the manufacturer’s instructions for washing your sleeping bag. Gear-specific cleaners work best. Additionally, store your sleeping bag uncompressed in a larger cotton sack to maintain loft and insulation.
Drying: If you accidentally get your sleeping bag wet, dry it as soon as possible to prevent mold and mildew. Using a dryer on low heat with dryer balls can help restore its loft.
The Importance of Temperature Ratings
Understanding Temperature Ratings
Before investing in a 0 degree sleeping bag, it’s important to understand how temperature ratings work.
Comfort and Limit Ratings: Each sleeping bag comes with a comfort rating and a limit rating. The comfort rating indicates the minimum temperature at which you can comfortably sleep. In contrast, the limit rating reflects the lowest temperature at which you can survive while using that bag.
Personal Variation: Temperature ratings can vary widely based on the individual’s metabolic rate, clothing worn while sleeping, and overall health. Always test a sleeping bag under conditions similar to those you expect on your trip.
Practical Tips for Sleeping Comfortably in Cold Weather
Using your sleeping bag effectively will help you stay warm and comfortable during cold-weather camping:
Ventilation: If you find yourself overheating, vent your sleeping bag. Many 0 degree bags feature zippers or drafts to allow for temperature adjustments.
Layering Techniques: Bring a sleeping bag liner or extra blanket for added warmth when needed. A liner can also protect your sleeping bag from sweat and dirt, prolonging its life.
Choose the Right 0 Degree Sleeping Bag
In conclusion, selecting the right 0 degree sleeping bag is crucial for anyone looking to enjoy camping during colder months. From keeping you warm to ensuring comfort throughout the night, the right sleeping bag can significantly impact your overall experience in the great outdoors.
Explore brands like The North Face, Marmot, REI Co-op, Big Agnes, and Nemo Equipment, as they offer some of the best options in the market. By comparing their features, insulation types, and overall temperature ratings, you can make an informed decision that aligns with your camping needs.
As you prepare for your next outdoor adventure, remember to consider not just the specifications of the sleeping bag, but also how you plan to use it. This includes preparing for weather conditions, understanding the importance of proper maintenance, and ensuring you have the right accessories to enhance your experience.
Investing in a durable and comfortable 0 degree sleeping bag will guarantee that you enjoy countless nights under the stars, no matter how cold it gets. Stay warm and happy camping!