The Origin and Evolution of the Magnetic Compass
The magnetic compass has a storied past. Its journey began over a millennium ago. Mariners in China and Europe discovered its uses independently. They found that lodestone, a naturally magnetic mineral, pointed north when suspended in water. This crucial discovery led to the development of the first simple compasses. Crafted from a magnetized needle floating on wood or cork, they were fundamental to early navigation. The compass needle, influenced by Earth’s magnetic field, reliably pointed north, enabling directional travel even when stars were not visible.
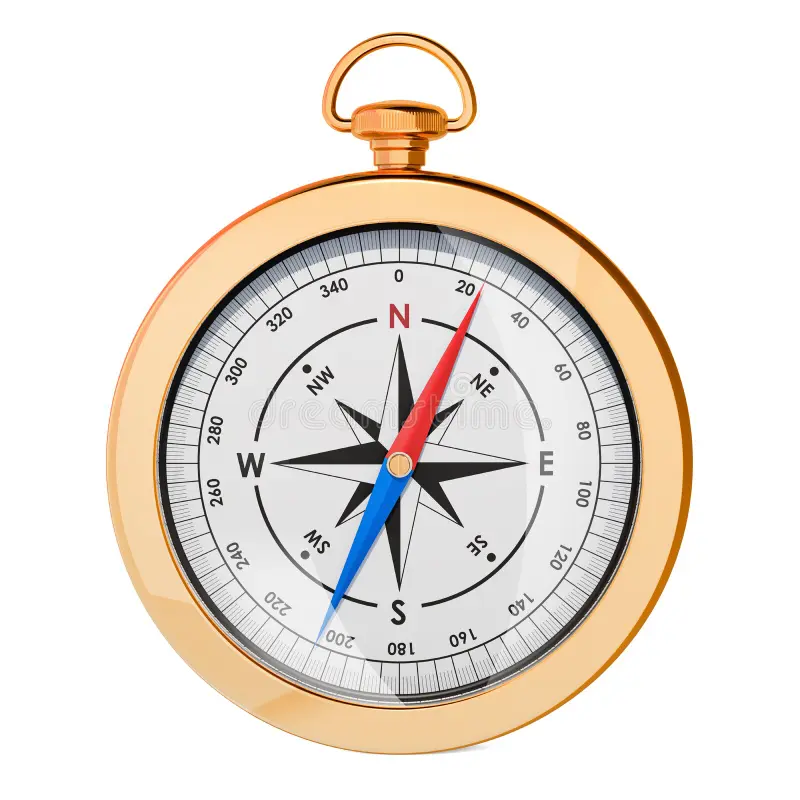
Compasses quickly became vital for explorers and traders. From the 12th century onward, improvements were made. The needle was mounted on a pivot, leading to more stable and accurate readings. Over time, the compass evolved from a floating needle to a card marked with directions. This card, called a compass card, was directly under the needle. It allowed navigators to read directions from the card’s top. These advancements, some say, paved the way for the Age of Exploration. They helped explorers chart unknown waters and discover new lands. The magnetic compass altered how people perceived the world and engaged with it.
Throughout history, the magnetic compass has been adapted and refined. Its ability to provide direction without requiring a clear sky or landmarks was revolutionary. Today, although digital navigation systems are prevalent, the magnetic compass’s simple yet robust design still holds importance. It represents a critical step in our quest to understand and explore the physical world. The compass’s humble origins remind us of humanity’s relentless pursuit of knowledge and discovery.
Fundamental Principles Behind Magnetic Compass Operation
The magnetic compass works by a simple yet profound concept. It uses a small magnetized needle or card that can move freely. This needle aligns with Earth’s magnetic field. As a result, one end of the needle points toward the magnetic North Pole. Sailors and travelers have relied on this principle for centuries.
Understanding how magnetic compasses operate is key to their use. Compasses do not point to the true North Pole, the fixed spinning top of Earth. They orient towards the magnetic North, where the planet’s magnetic field converges. This is why compasses may show slight errors, known as magnetic declination or variation. These errors depend on your location relative to Earth’s magnetic poles.
Deviation is another source of compass errors. It refers to the interference caused by nearby metal objects or magnetic fields. For instance, a ship’s hull or an airplane’s structure can disrupt the compass reading. Adjusting for these disruptions is a critical part of using the compass correctly.
Despite their susceptibility to variation and deviation, magnetic compasses remain vital. Their importance lies in their reliability and simplicity. They require no power, are not dependent on technology, and are always ready for use. These attributes make the magnetic compass an enduring tool for navigation, even with the advent of modern GPS systems. It’s a testament to human ingenuity and our pursuit to explore and connect with the world.
Technical Improvements and Variations in Compass Design
The magnetic compass has undergone significant changes since its inception. Here are key improvements and the different designs that have emerged:
- Mounting the Needle: In the 13th century, the needle was mounted on a pivot. This development allowed for a stable and level axis, which improved the compass’s accuracy.
- Introduction of the Compass Card: A card bearing the main directions was placed beneath the needle. Navigators could now read their course directly from the card.
- Liquid-Filled Compasses: Compasses filled with liquid were invented to dampen the needle’s movements. This made readings more stable and reliable, especially at sea.
- Gimbals System: The gimbal system was introduced to keep the compass card level in all conditions. This was crucial for accurate readings aboard moving ships.
- Adjustments for Magnetic Declination: This allowed users to adjust their compass to match geographical location variations.
- Development of Binnacles: Compasses were housed in binnacles, special stands that protected the compass and allowed for additional magnetic adjustments.
- Specialized Compasses for Aircraft: To address the unique challenges in aviation, compasses were designed to remain stable during rapid changes in course or speed.
- Integration of Magnetometer Sensors: Modern compass designs include electronic magnetometer sensors. These offer more precise readings and can be found in various devices like smartphones.
- Digital Compasses: Today, digital compasses provide a user-friendly interface and enhanced features. They often come combined with other navigational tools like GPS.
These innovations have made the magnetic compass more reliable, versatile, and essential for navigators across various modes of transportation.
The Role of the Magnetic Compass in Exploration and Trade
The magnetic compass profoundly influenced exploration and trade. By providing direction, it enabled extended sea voyages and the expansion of trade routes. Here’s how the magnetic compass impacted exploration and trade:
- Facilitating Ocean Navigation: The magnetic compass was vital for navigators during the Age of Discovery. It led to successful transoceanic expeditions and the mapping of new territories.
- Enhancing Trade Connectivity: It allowed traders to travel further and establish new trade links. This led to the exchange of goods and cultural connections between distant lands.
- Promoting Global Awareness: The compass played a role in the global dissemination of knowledge. Through exploration, it helped shape an interconnected world.
- Spurring Economic Growth: The influx of new goods and resources discovered during explorations stimulated economic growth in various regions.
- Advancing Cartography: As explorers charted new lands, cartographers created more accurate maps, which were crucial for further explorations and naval planning.
- Influencing Global Power Dynamics: The nations that mastered navigation using the magnetic compass established powerful sea empires and colonial territories.
The magnetic compass not only helped navigate the high seas but also laid the groundwork for the modern global economy and geopolitics. Its impact on exploration and trade is a testament to its enduring significance in world history.
Understanding Variation, Deviation, and the Role of Earth’s Magnetic Field
The Earth’s magnetic field plays a critical role in the functioning of the magnetic compass. As the compass aligns with this field, its needle points toward the magnetic North Pole. However, this is not the same as the geographic North Pole, which is the axis around which the Earth rotates. The difference between the magnetic North and the geographic North is known as magnetic declination, or variation. This variation changes depending on where you are on the Earth’s surface. Navigators must account for this when planning their routes to ensure accuracy.
Deviation is another factor that can affect the magnetic compass. This is the error caused by local magnetic fields interfering with the compass needle. For example, the metal in a ship’s structure or an aircraft’s body can create magnetic fields that disrupt the compass’s alignment. Experienced navigators know to adjust for deviation to maintain accurate course readings.
To correct for variation and deviation, regular calibration and adjustments are needed. Calibration involves setting the compass to account for local magnetic conditions. It’s a meticulous process, but essential for trusted navigation. Compasses can also be equipped with adjustable components to offset the effects of deviation. This ensures the needle points as close to the true magnetic North as possible.
Understanding both variation and deviation is crucial for anyone using a magnetic compass. By considering these elements, navigators can traverse vast distances with confidence, guided by the same principles that have directed explorers for centuries.
Modern Compass Types: From Traditional to Digital
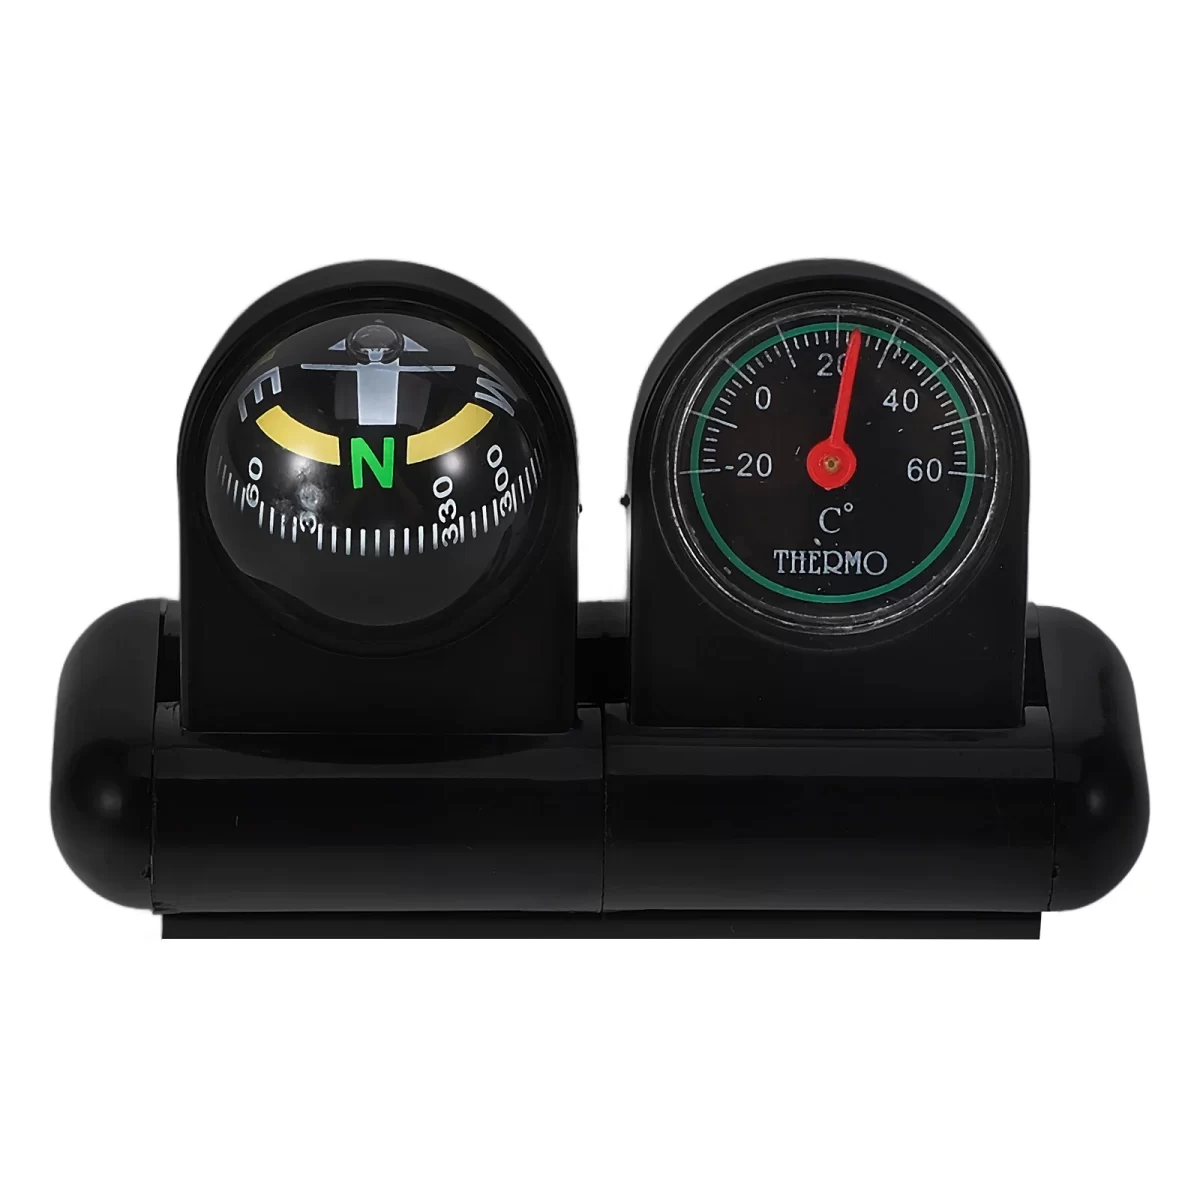
The evolution of the magnetic compass has produced a variety of types. Traditional compasses rely on a free-moving needle. These include simple models used for hiking and advanced marine compasses housed in binnacles. Digital compasses, on the other hand, use electronic sensors. They provide data for other devices, like smartphones and GPS systems. Let’s explore these modern adaptations:
- Traditional Magnetic Compasses:
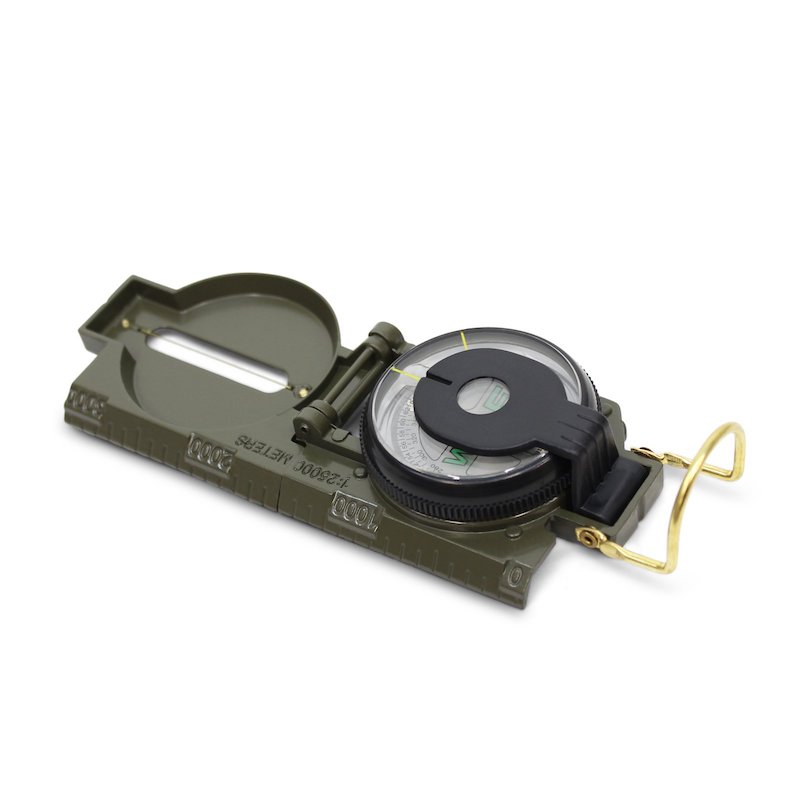
- Basic handheld compasses for outdoor activities.
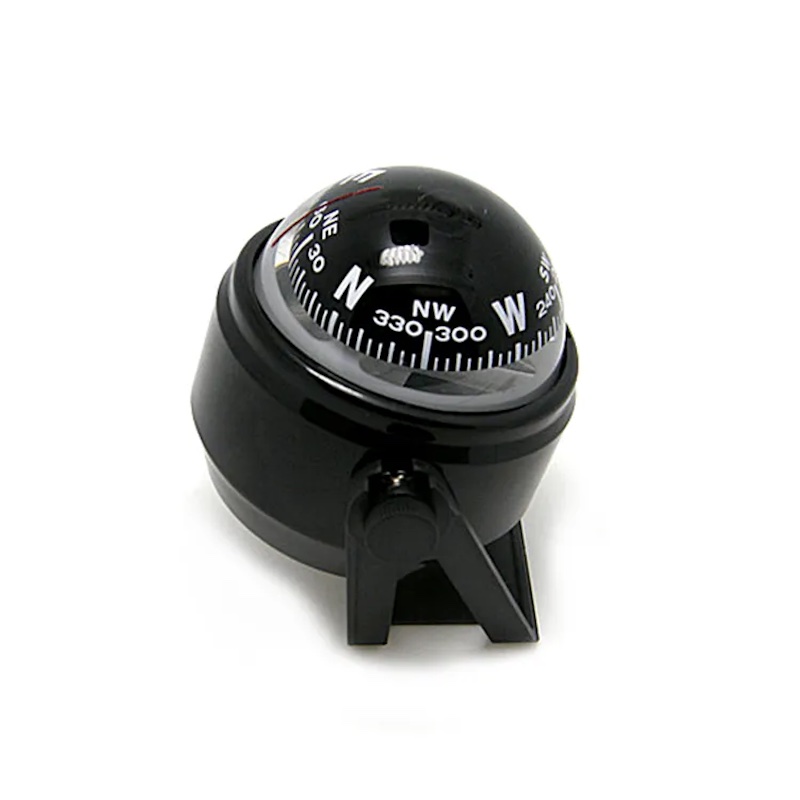
- Marine compasses in binnacles for stability on ships.
- Aviation compasses designed for flight dynamics.
- Digital and Electronic Compasses:
- Magnetometer-based devices found in smartphones.
- Integrated in GPS units for enhanced navigation.
- Advanced models calculating variation and deviation.
Both types serve different needs. Traditional compasses are vital where technology fails or is not accessible. Digital compasses, meanwhile, offer ease and precision. They often come with additional navigation features. Understanding how each type works helps in choosing the right compass for the journey. Whether traditional or digital, the key lies in knowing how to adjust and interpret the compass for accurate readings.
Adjustments and Calibration for Accurate Readings
To navigate effectively, a magnetic compass must be adjusted and properly calibrated. This is crucial because the Earth’s magnetic field has anomalies, and local interferences can mislead navigators. Here are the key steps in compass adjustment and calibration:
- Identifying Magnetic Declination: Determine the angle between magnetic north and true north for your location.
- Correcting for Deviation: Identify magnetic interferences that cause the compass needle to deviate. This is especially important on ships and airplanes, where metal structures can cause interference.
- Calibration Process: Regularly calibrate your compass to account for changes in magnetic declination and to adjust for local deviations. This usually involves adjusting small magnets or metal pieces within the compass or its mount.
- Using a Deviation Card: Create or update a deviation card for your compass, which lists deviations for various headings.
- Checking Compass Health: Ensure the compass is free from bubbles in liquid-filled models and that the needle moves freely. Regular maintenance helps prevent inaccuracies.
Adjusting and calibrating a magnetic compass is a blend of science and art. It involves understanding Earth’s magnetic environment and the effects of local magnetic fields. With proper adjustments and calibration, a magnetic compass is an indispensable tool for trusted navigation.
The Legacy and Future of Magnetic Compass Technology
The magnetic compass has a profound legacy. It changed how we explore and connect globally. It’s a crucial part of our history. Its basic function remains relevant in today’s digital age. The magnetic compass, by aligning with Earth’s magnetic field, guided countless sailors and explorers.
Modern technology now influences the compass’s future. GPS and advanced navigation systems offer more information. Yet, the magnetic compass doesn’t need power. It’s a reliable backup in electronic failures. It still teaches basic orientation skills.
Continuous advances in technology bring new compass features. Digital compasses integrate with smartphones and watches. They offer users easy-to-read displays and real-time updates. Their sensors provide additional data for navigating modern environments.
Despite technological growth, the magnetic compass remains important. It’s an essential tool for learning and outdoor activities. In the classroom, it’s a practical way to understand magnetic fields. The compass is a bridge between the ancient and modern worlds.
Future magnetic compass designs could blend traditional principles with digital enhancements. Smart compasses may combine GPS data for better accuracy. They might even connect to global networks for real-time magnetic field updates.
In all, the magnetic compass’s legacy lies in its enduring design. Its future involves staying relevant amidst technological change. It continues to be a foundation for navigation and understanding our world.
